Passport Photo Head Position Requirements: Tips to Meet Official Guidelines
Last Update: February 23, 2026
It often feels like passport photos should be easy to get right, but many people only find out the rules are strict after a rejection. In a lot of cases, the issue comes down to something simple - head position.
A slight tilt, looking a bit off-camera, or being framed incorrectly can all cause issues. However, once you understand the passport photo head position requirements, it’s actually very easy to get it right.
For full official rules, see our complete guide to passport photo requirements.
The One Thing to Remember: Keep It Straight and Centered
If there’s a single rule that matters most, it’s this:
Your head should be straight, centered, and facing forward.
That means:
-
No tilting to either side
-
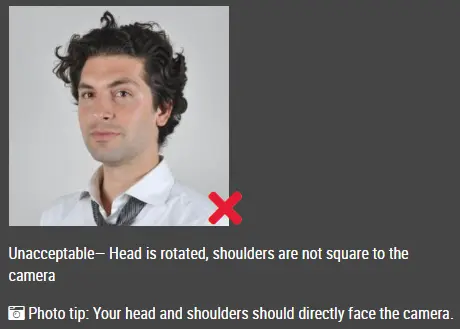
No turning slightly left or right
-
No angling your chin up or down
Imagine looking directly at someone in front of you - that’s exactly the position you want.
Why Even a Small Tilt Can Get Your Photo Rejected
It might feel overly strict, but there’s a reason behind it. Passport photos are checked using facial recognition technology, which relies on symmetry.
When your head is tilted, even slightly, it throws off that symmetry. What looks fine to you might not pass automated checks.
This is why people often get rejected even when the photo “looks okay.”
What “Correct Head Position” Actually Looks Like
Instead of thinking in technical terms, use this quick mental checklist:
-
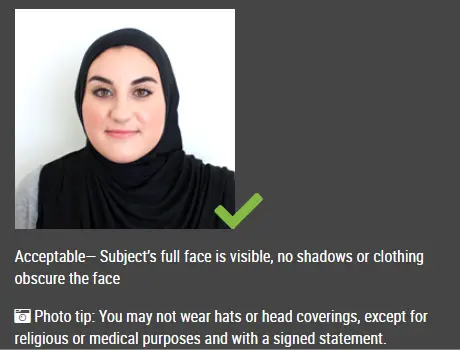
Your face is fully visible and centered
-
Your eyes are level (not slanted)
-
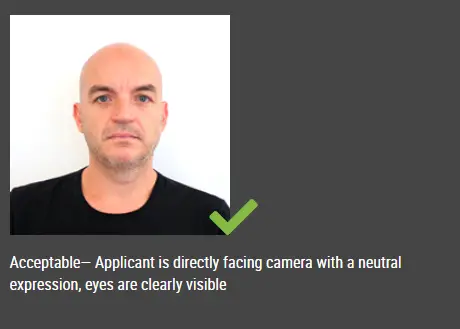
You’re looking directly into the camera
-
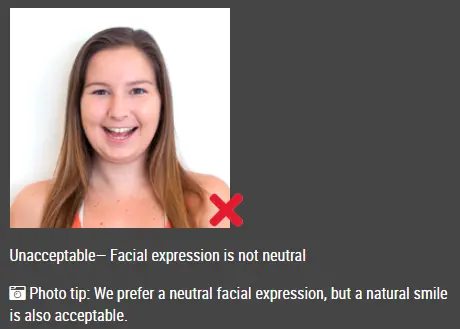
Your expression is neutral and relaxed
If something feels slightly off when you look at the photo, it probably is.
Framing Matters More Than You Think
Head position isn’t just about angle-it’s also about how your head fits in the frame.
A correct passport photo should:
-
Show your full head (from chin to top of hair)
-
Fill about 70–80% of the image
-
Leave a small space above your head
Too close? It looks cramped.
Too far? Your face may not meet size requirements.
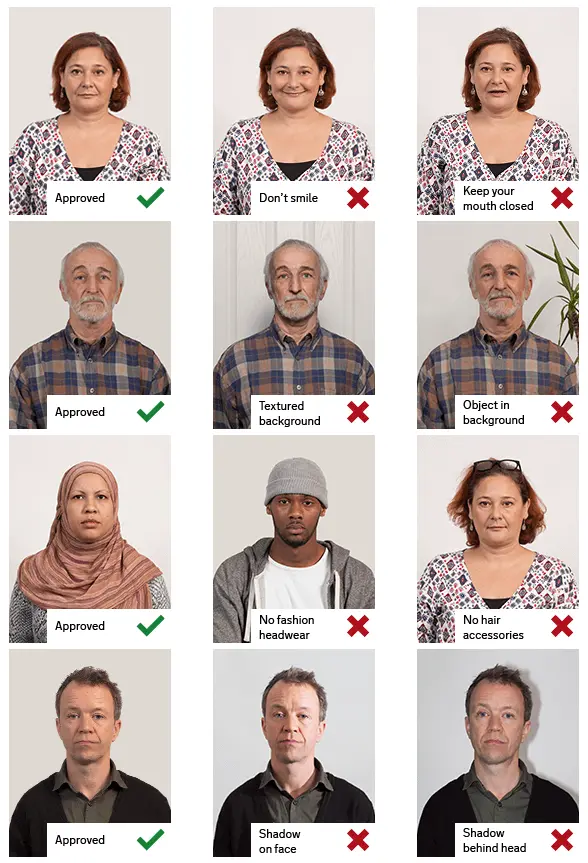
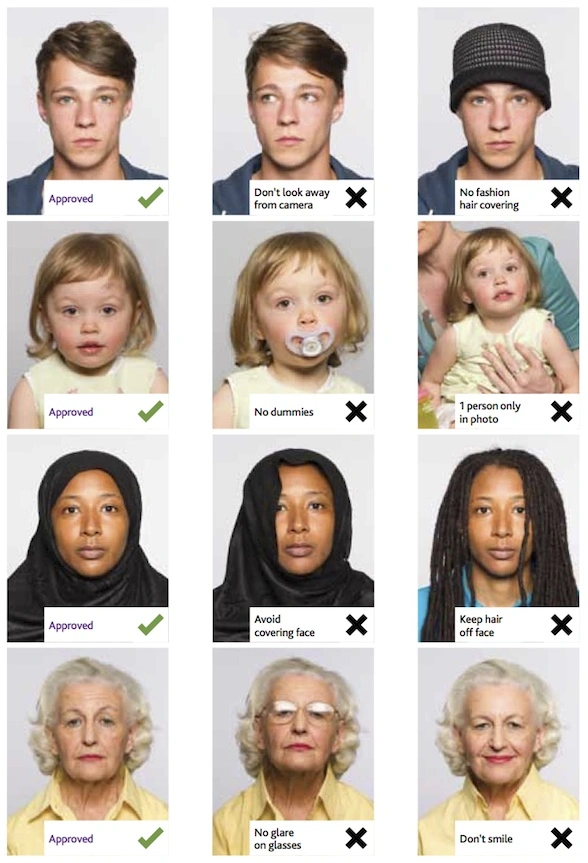
Common Mistakes People Don’t Notice
A lot of errors are subtle and easy to miss:
-
Slight head tilt
-
Looking just next to the camera instead of into it
-
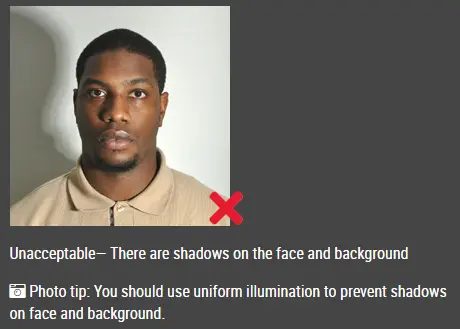
Uneven lighting creating shadows on one side
-
Standing too close or too far from the camera
These small details are exactly what cause most rejections.
How to Get It Right Without Overthinking It
You don’t need a professional studio-just a bit of attention:
-
Keep your camera at eye level
-
Stand or sit upright (don’t lean)
-
Use even lighting, preferably natural light
-
Take a few shots and compare them
If one photo looks more balanced and centered than the others, that’s usually the correct one.
Keep your head straight, your face centered, and your expression neutral. When those three things are right, everything else tends to fall into place - and your chances of approval go up significantly.
Click here to make passport / visa photos